The Process: Transforming Clay into Corals
Each sculpture was made with stoneware clay and painted with Mayco underglazes after bisque firing. They were then coated with a low-fire glaze and fired to Cone 06 to enhance the vibrant colors, bringing the coral reefs to life.
Step 1: Bringing Ideas to Life
I drew some initial sketches of what I had in mind for a healthy coral reef sculptures. I then made a few test pieces to see what level of detail I could feasibly do and what the underglazes colors looked like when fired. I tested both low fire and high fire glazes and determined that I liked the vibrant colors I could achieve with the low fire underglazes. It was then off to the races!


Step 2: Building the Reefs
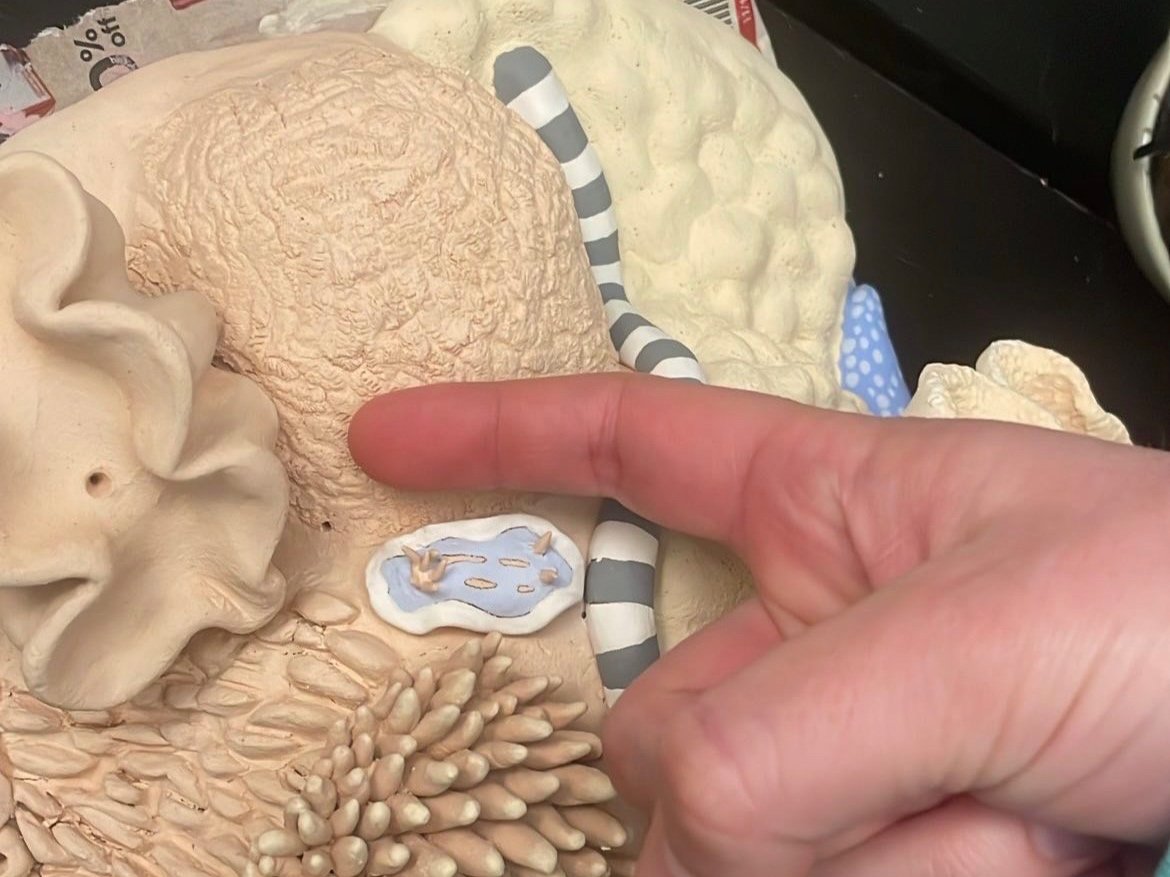
After studying images and researching the specific characteristics of coral reefs around the world, I then carefully molded the clay to form the intricate shapes and textures found in these diverse ecosystems. Using a variety of tools, I added fine details and surface textures to mimic the natural beauty of the reefs. Each sculpture was a labor of love, aiming to capture the delicate ecosystem and raise awareness of the importance of protecting coral reefs worldwide. One important note is that these sculptures are representations of each ecosystem and do not come close to including all species found in each place.
Step 3: Giving the Reefs Color
Once the sculptures were bisque fired, each organism was painted with underglazes using a reference photo for the specific species. It was then coated with a low fire glaze and fired to cone 06.


